
Quick Start
Deploying is just a few clicks. The setup takes under a minute, then provisioning runs in the background for about 10 minutes.
Once deployed, Spawned manages your infrastructure so you can focus on building your software, rather than configuring how to ship it.
This is a general walkthrough for deploying any app. For specific examples of what you can deploy, check out demos. To learn more about building your app for the cloud, view the service catalogue.
1. Add Your Sources
Head to spawned.ai/new to create a new project.
Sources are the application code you want to deploy. You can add multiple sources if your application has multiple services. Spawned analyzes your code to understand how they connect and configures the infrastructure automatically. If it works on your machine, it will work on Spawned.
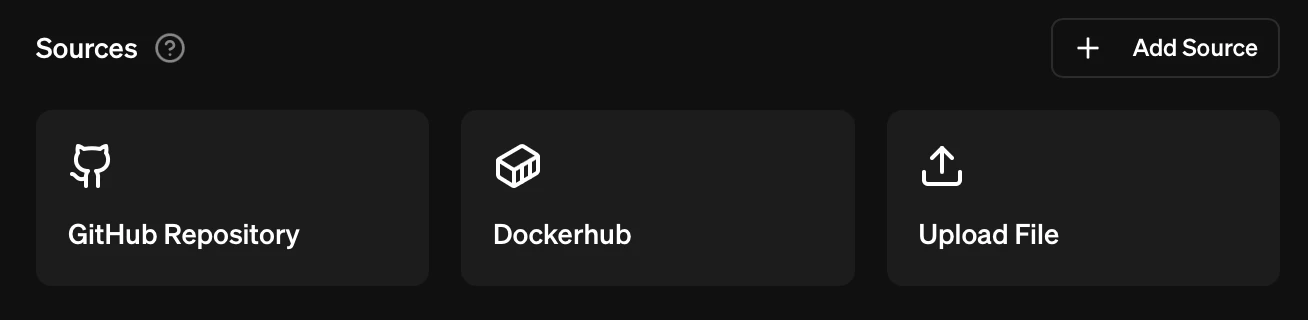
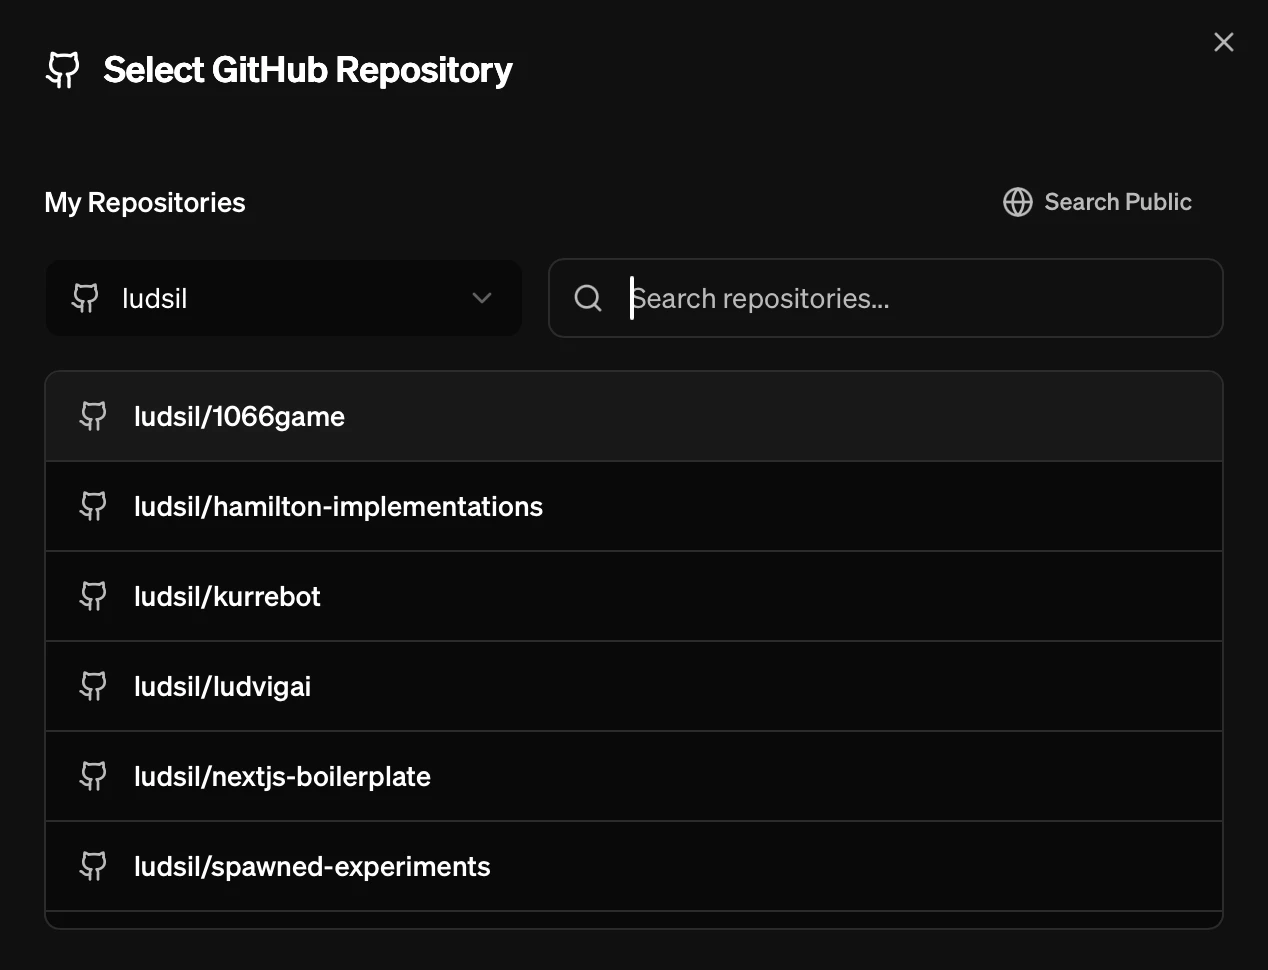
GitHub Repository
Connect any public repository, or private repos from your personal account or organizations. To access private repositories, connect your GitHub account in Settings.
Docker Hub
Deploy pre-built Docker images directly. Enter the image name and tag (e.g., nginx:latest). Supports images from Docker Hub, GitHub Container Registry, and other registries.
File Upload
Upload project files directly (max 50MB). Useful for adding environment variables, configuration files, or small projects without a repository.
2. Select Cloud Provider
Choose where your project will be hosted. Cloud infrastructure will be created specific to the chosen platform.
Currently, Amazon Web Services (AWS) is available, with Google Cloud Platform and Microsoft Azure coming soon.

Spawned Hosted vs. Bring Your Own
You can deploy to a cloud account managed by Spawned, or connect your own cloud account.
- Spawned Hosted - We manage the cloud account for you. Cloud costs are included in your Spawned bill, so you have one place for everything.
- Bring Your Own - Connect your own cloud account in Settings. You pay cloud costs directly to your provider, giving you full control and visibility.
Spawned Hosted is the fastest way to get started. Bring Your Own is useful if you want to use your own cloud credits, need to connect to existing cloud deployments, want to integrate cloud resources that Spawned doesn’t provision, or have compliance requirements.
3. Configure Optional Settings
Expand Optional Settings to configure:
- Project Name - A custom name for your project (randomly generated if left empty)
- Domain - Your custom domain (requires DNS setup, see domains)
- Context - Additional instructions for the AI, such as environment variables, how services should connect, or specific deployment requirements
4. Deploy Your Project
Deploying
Click Deploy to start the deployment process.

Monitoring Deployment
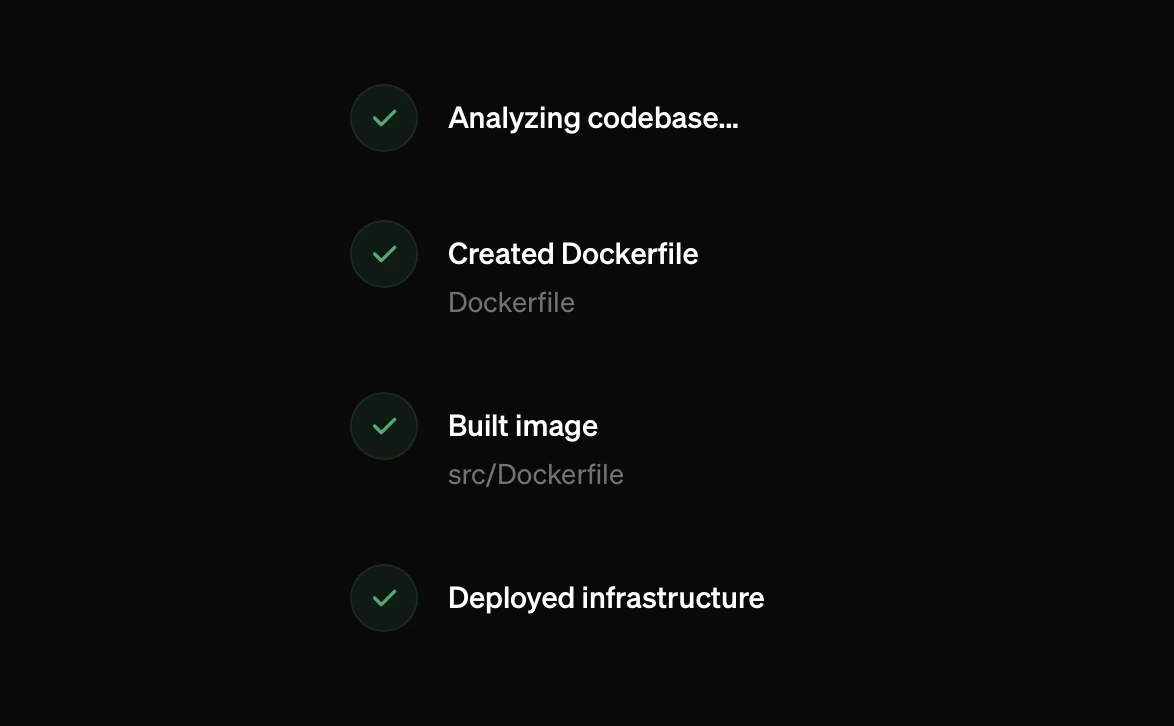
You’ll see the deployment in progress view. The steps shown are tasks the AI is working through. If a step fails, it will automatically retry.
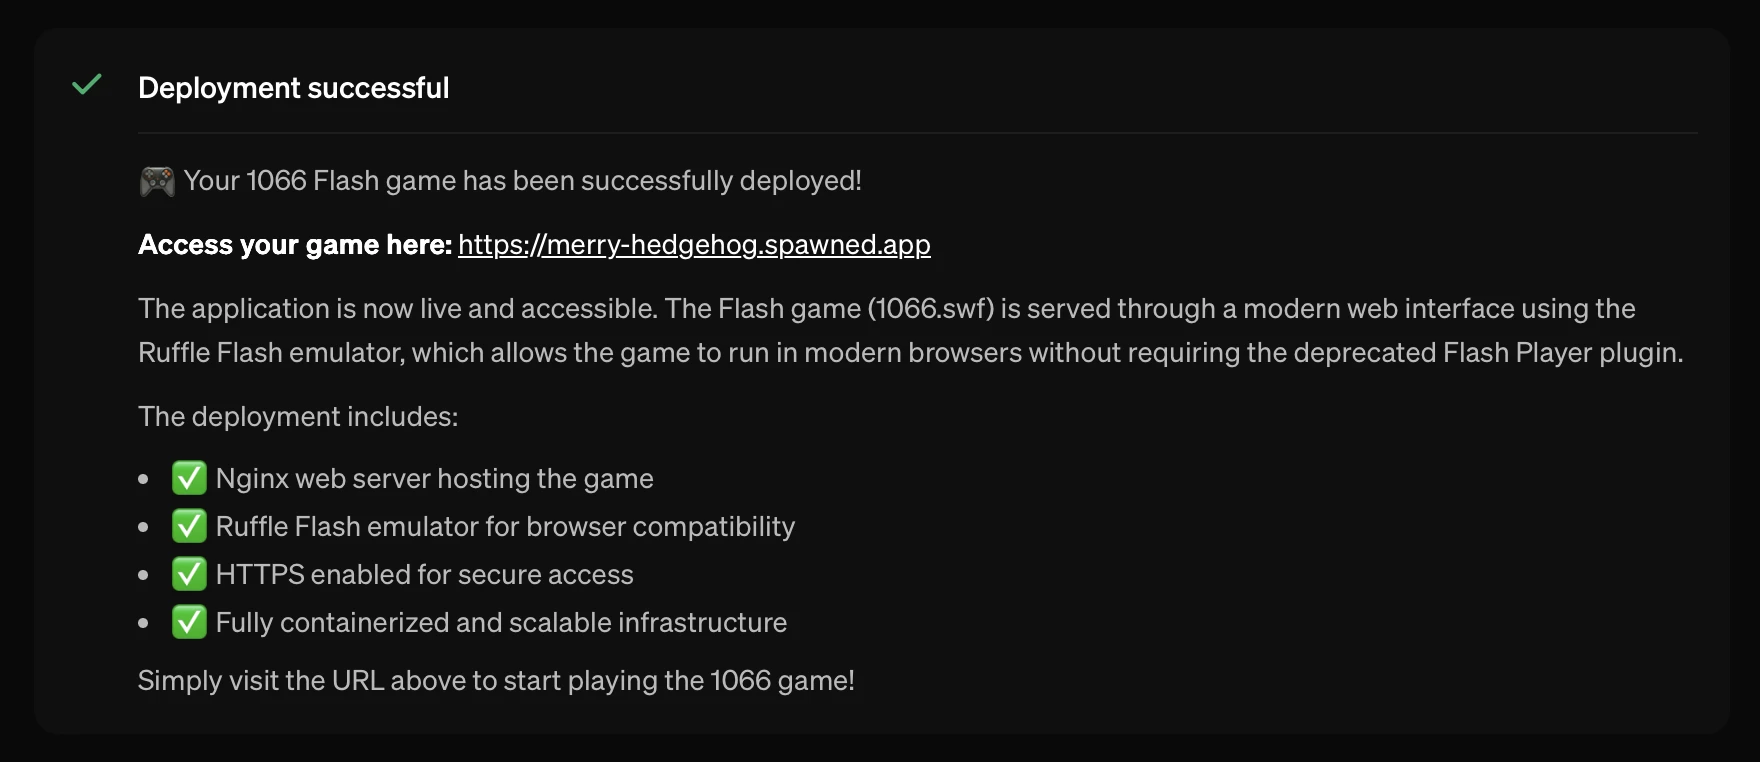
Steps that involve building, like Dockerfile builds, can be expanded to see detailed build logs. When deployment completes, a summary is presented, and you can click Go to Project to access your project dashboard. Grab a coffee while you wait.
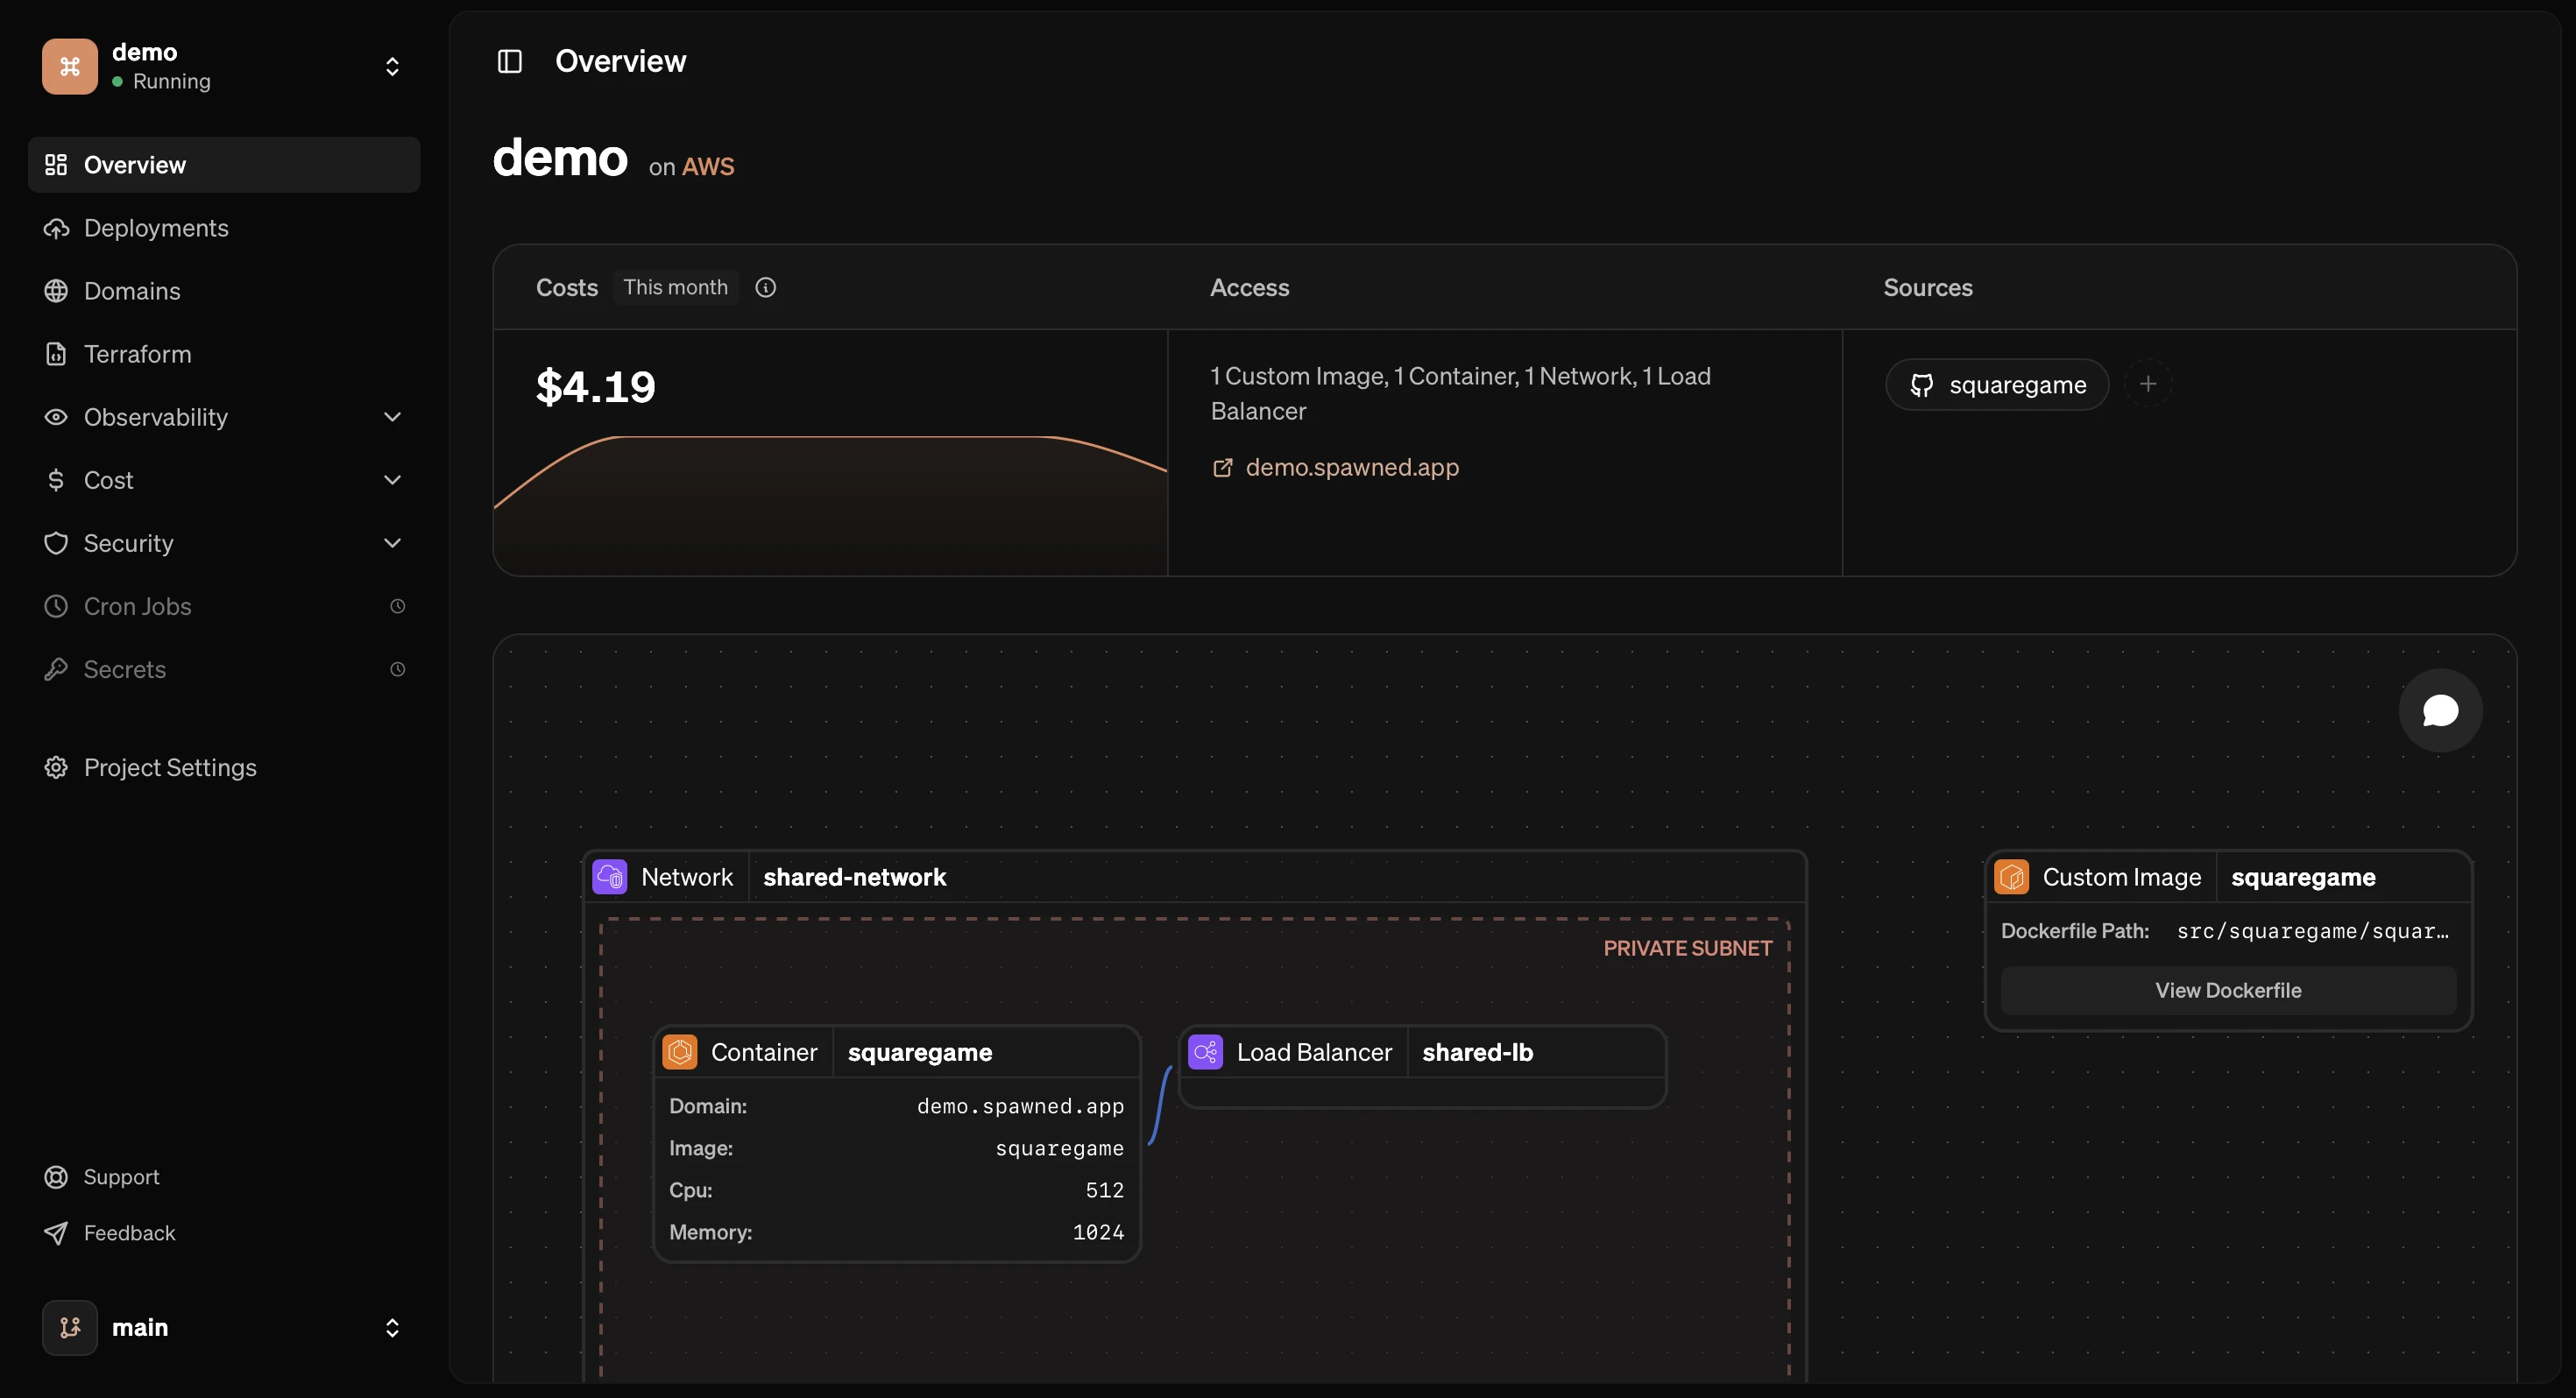
5. Project Dashboard
Your project dashboard is designed so you never have to touch the AWS console. Everything you need to manage your deployment is here.
From the dashboard you can:
- View live logs streamed directly from AWS
- Track cloud costs with daily breakdowns
- See your infrastructure visualized on the canvas
- Access your running application via generated URLs
- Inspect the Terraform configuration Spawned generated
To update your deployment, go to the Deployments tab and click Create Deployment. Spawned will pull the latest commit from your GitHub repository and rebuild. Version handling is currently manual, so you trigger updates when you’re ready.
For a deeper dive into all dashboard features, see Project Dashboard.
Next Steps
Demos
Explore real-world deployment examples with different stacks.
Project Dashboard
Learn how to manage and monitor your deployments.
Connections
Connect GitHub, custom domains, and your own cloud account.
Philosophy
Understand what cloud infrastructure is and how Spawned abstracts it.
Need Help?
If you run into issues or have questions, join our Discord community where you can get help from the team and other users. You can also reach us directly at [email protected].