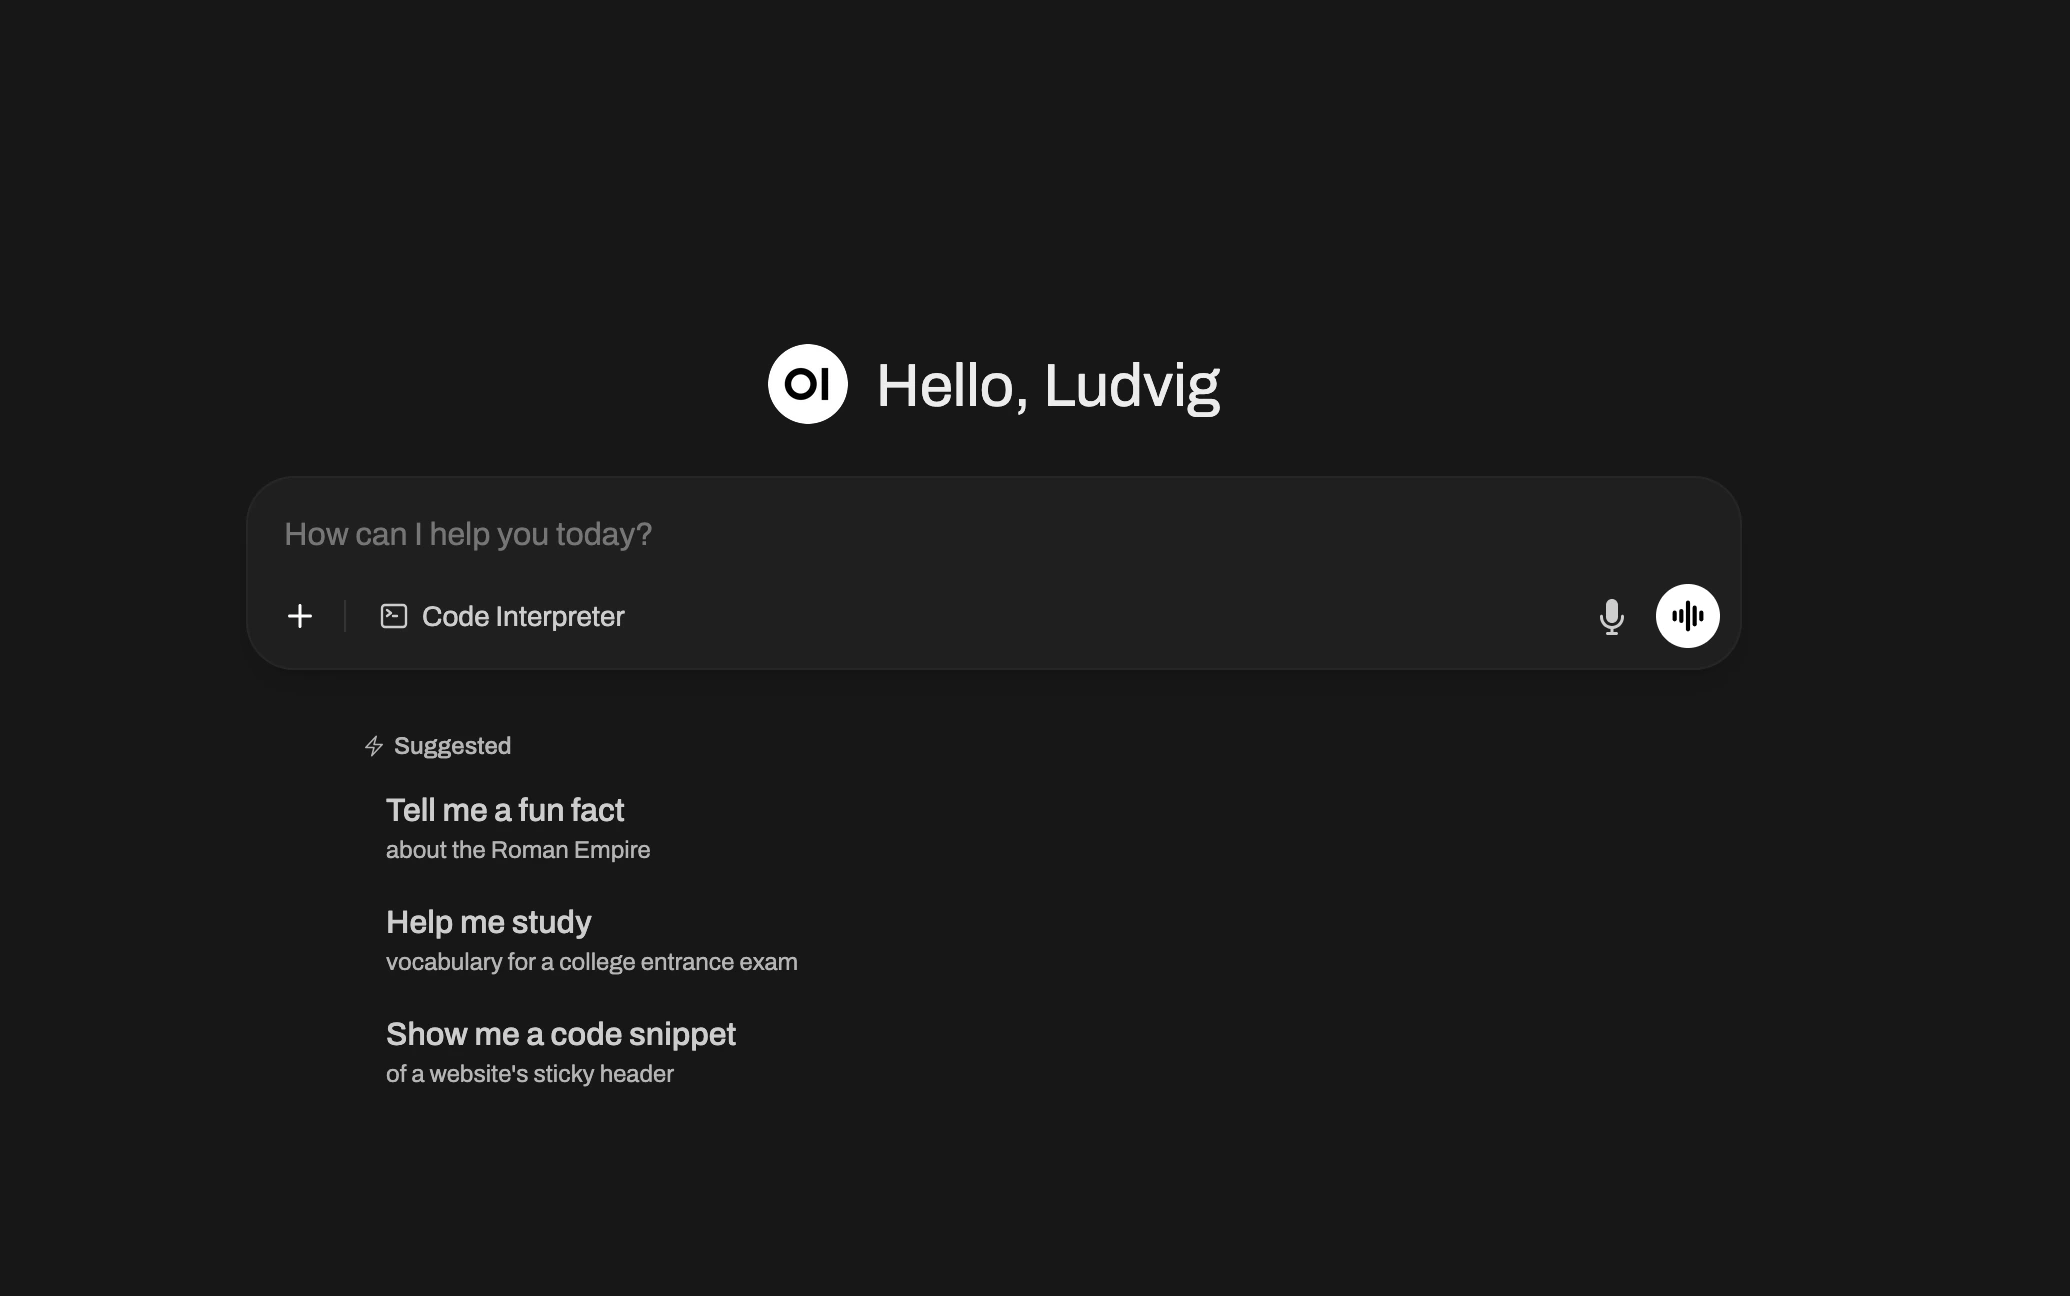
Deploy Your Own ChatUI

Deploy a ChatGPT-style interface under your control. Two example setups: individual deployment and organization-oriented deployment with LiteLLM proxy.
Basic Setup: Open WebUI with Provider Key
The most direct way to run Open WebUI is to supply it with a provider API key. This creates a private chat interface that connects straight to your chosen LLM provider.
Deployment Steps:
- Go to /new to create a new deployment
- Add Source: Click “Add Source” → “Docker Hub” → Select
dyrnq/open-webuifrom available images - Optional Settings: Add context “with API key: sk-FAKE1234567890 and 2GB RAM”
- Deploy: Click “Deploy” to start your private ChatUI
This setup is best suited for individuals who want a secure, personal ChatGPT instance without additional infrastructure.
Advanced Setup: Open WebUI with LiteLLM Proxy
For teams and organizations, managing API keys directly is not practical or secure. Introducing a LiteLLM proxy between Open WebUI and your providers enables:
- Centralized authentication – provider keys never exposed to end users.
- Model flexibility – route traffic to OpenAI, Anthropic, Azure, or local models through one proxy.
- Monitoring and control – track usage, apply quotas, and manage cost centrally.
- Future-proofing – swap or add providers without changing the frontend.
Our system automatically generates the LiteLLM API key and configures Open WebUI with it:
Deployment Steps:
- Go to /new to create a new deployment
- Add Sources:
- Click “Add Source” → “Docker Hub” → Select
dyrnq/open-webui - Click “Add Source” → “Docker Hub” → Select
litellm/litellm
- Click “Add Source” → “Docker Hub” → Select
- Optional Settings: Add context “Set up Open WebUI with LiteLLM proxy using generated API key. 2GB RAM.”
- Deploy: Click “Deploy” to start your enterprise ChatUI with centralized management
This configuration gives your team a managed, private ChatGPT that can connect to any language model backend, with security and governance built in.
Summary
- Basic setup – fast and simple, ideal for personal use.
- Advanced setup – recommended for organizations, with centralized control, model flexibility, and secure key management.
- Beyond these examples – there are as many ways to architect your ChatUI system as there are ways to write a prompt. These two setups are simply reference points.